Send Pre-Birthday/Post-Birthday Emails with Exclusive Offers Using Workflow Automation
Intorduction
Want to make your customers feel special even before their big day? With Workflow Automation, you can automatically send personalized pre-birthday emails that include exclusive offers or discounts. This not only delights customers but also encourages early engagement and drives more sales. In this guide, you’ll learn how to set up pre-birthday triggers, design your email, and deliver a timely surprise that keeps customers coming back.

Note: This workflow is only recommended if you are not assigning Loyalty points on birthdays. If you are using the Loyalty points rewards for birthdays, Click here.
Here are the steps to send pre-birthday emails with exclusive offers using Workflow automation:
Step 1: Go to Workflow automation >> Templates
Step 2: Click on the Create from Scratch button.
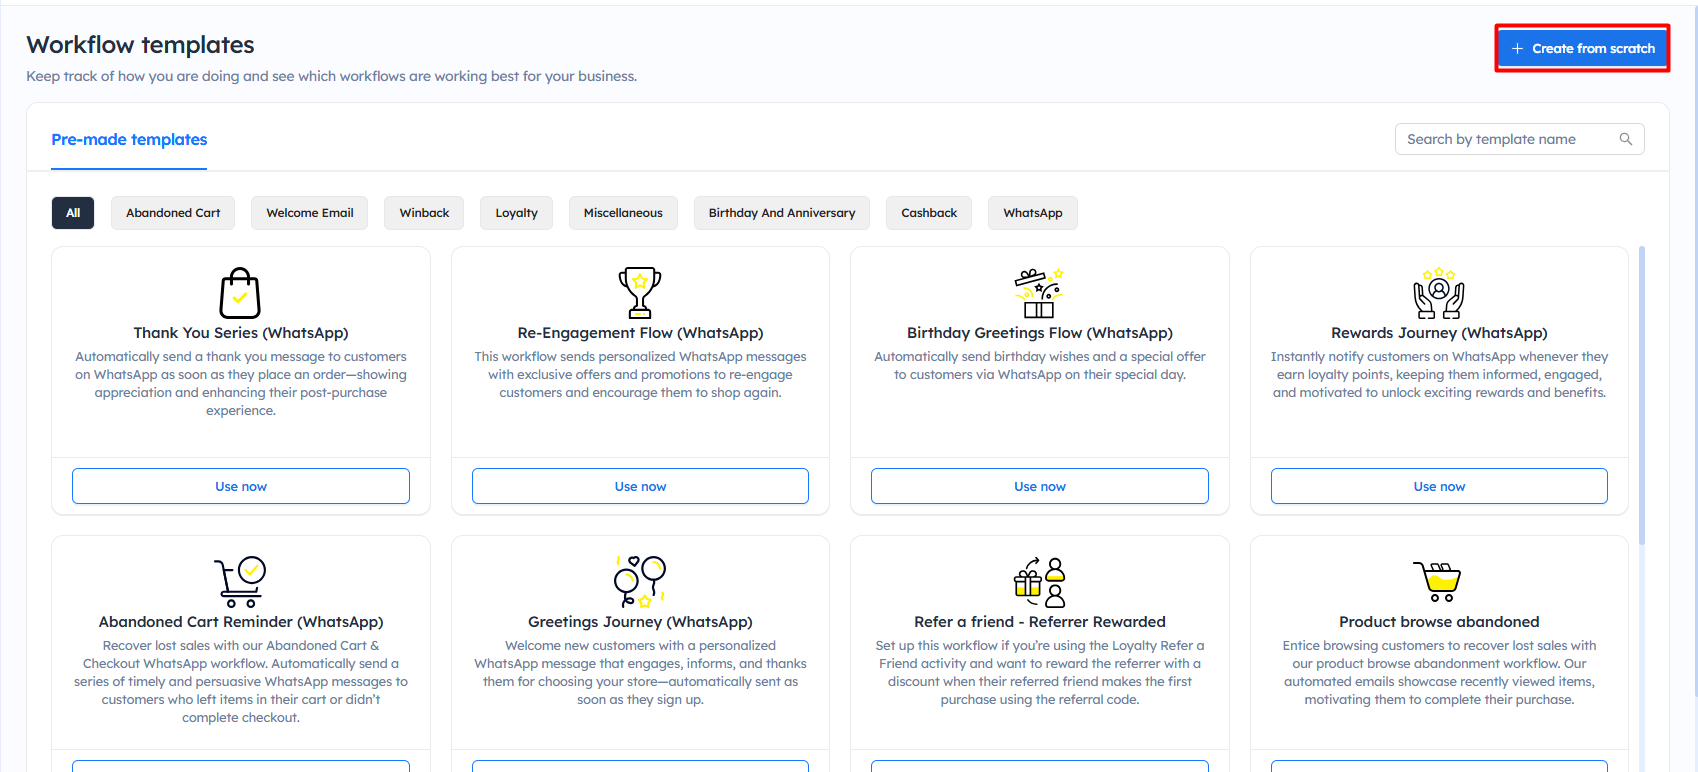
Step 3: Drag and drop the Date property trigger.
Step 4: Select the date property - Birthday. Also, select the date filter, the options of the date filter are:
1.) Same day - Trigger starts on the customer’s birthday.
2.) Is after - Trigger starts after the birthday.
3.) Is before - Trigger starts before the birthday.
4.) 1st of the month - Trigger will start on every first of the month.
Note: If you are selecting Is after or Is before, you need to add the no. of days to trigger the workflow
Step 5: Select the filters and email actions with any other action as per your requirement, and connect the node.
Step 6: Click on the Send Email action added to the workflow editor. The right-side menu will appear—select the template, add the required details, and click Done.

Note: If you have not created the template, click here to learn how to create the workflow template.
Step 7: Give a name to the workflow and mark the workflow as active by clicking on the enable button.
Now, the email will be sent to the customer on their birthday, based on the set date, along with the offer.
Important Notes
- This workflow is recommended only if you are not using Loyalty Points for birthdays to avoid duplicate rewards or messaging.
- Ensure the Date Property (e.g., Birthday) is available and correctly stored for customers.
- Select the appropriate trigger timing (before, on, or after the birthday) based on your campaign strategy.
- If using before or after options, make sure to define the correct number of days.
- Use relevant filters to target specific customer groups if needed.
- Ensure the email template is created and properly configured before adding it to the workflow.
- Verify all personalization fields and shortcodes are working correctly in the email.
- Connect all nodes (trigger, filters, and actions) properly in the workflow editor.
- Save and enable the workflow, otherwise emails will not be sent.